

Getting an ear piercing is about more than choosing a pretty piece of jewelry. The location of the piercing, the thickness of the jewelry, and the shape of your ear all play a part in how the final look comes together. Some people prefer a single lobe piercing, while others enjoy combining several placements to create a style that reflects their personality.
Before deciding where to get pierced, it helps to understand how each placement works. The outer ear contains both soft tissue and cartilage, and every section heals differently. Looking at an ear piercing chart before your appointment can make the entire process easier because it shows where each piercing sits and what to expect.
Understanding the Different Areas of the Ear
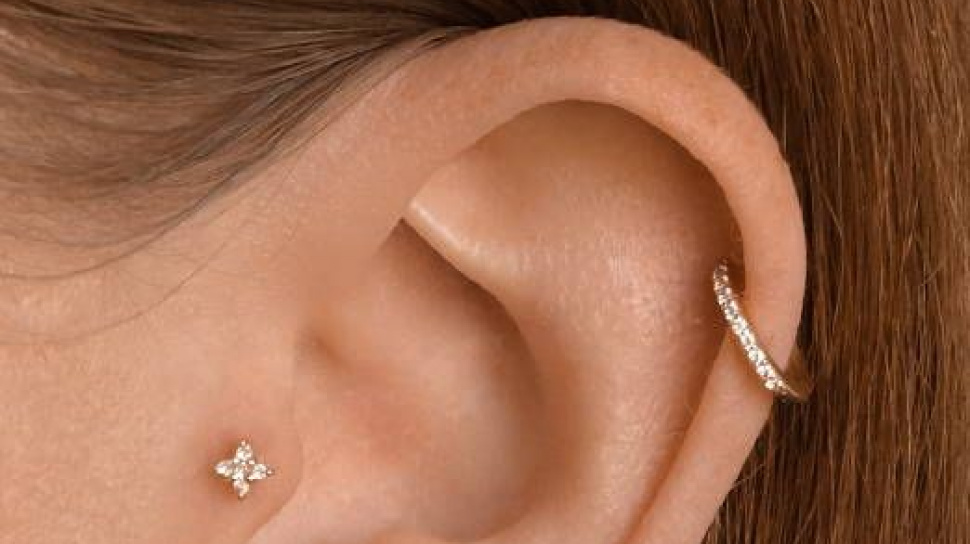
The ear is made up of several unique sections, and each one offers different piercing possibilities. The soft lobe is usually the first choice because it is less painful and generally heals faster. Moving upward, the cartilage becomes firmer and includes areas such as the helix, forward helix, rook, flat, conch, tragus, anti-tragus, and daith.
Each location creates a different appearance. Some are easy to combine with hoops, while others look better with small studs. read more all ear piercings chart examples helps you understand how these placements work together without relying only on imagination.
People often discover that the shape of their ear naturally suits certain placements better than others, making planning much easier before visiting a professional piercer.
Choosing the Right Placement for Your Style
There is no single piercing arrangement that suits everyone. Some people enjoy keeping things simple with one or two lobe piercings, while others gradually build an ear with several coordinated placements over time.
A types of ear piercing chart makes it easier to compare the available options. Instead of guessing where each piercing belongs, you can clearly see the differences between a helix, conch, rook, daith, tragus, industrial, and flat piercing.
Seeing every placement together also helps avoid combinations that may feel crowded or uncomfortable depending on your ear's anatomy. Since every ear is unique, a professional piercer can recommend adjustments that fit naturally with your individual shape.
Why Jewelry Size Matters
Placement is only part of the decision. Jewelry size also plays a major role in comfort and healing. Posts that are too short may place unnecessary pressure on a new piercing, while oversized jewelry can move too much and slow healing.
An ear piercing size chart explains common gauge measurements along with suitable post lengths for different piercing locations. These measurements are not random. They are selected to provide enough room for swelling while keeping the jewelry secure.
Although exact sizes may vary depending on anatomy, understanding standard gauges helps you feel more confident when discussing jewelry with your piercer. It also reduces the chances of purchasing accessories that do not fit properly later.
Planning Multiple Piercings Together
Many people now choose to build an ear over several appointments instead of getting everything done at once. This approach allows each piercing to heal properly before adding another one.
Reviewing several ear piercing charts gives a better idea of spacing between piercings and how different jewelry styles work together. It also helps balance both ears if you prefer a symmetrical appearance or create an intentionally uneven arrangement for a more personal look.
Patience is important because cartilage piercings usually require longer healing than lobe piercings. Allowing enough recovery time often leads to better long-term results.
Understanding Every Placement Before You Decide
Looking at all ear piercing chart illustrations helps people recognize placements they may not have considered before. While most people know about lobe and helix piercings, many are surprised to discover areas like the snug, orbital, transverse lobe, or forward helix.
Each location offers a different visual effect and requires different jewelry during healing. Some work well with rings after healing, while others are generally better suited for studs. Seeing the entire ear mapped out makes these differences much easier to understand before making a decision.
Knowing what each placement involves also helps set realistic expectations regarding healing time and aftercare.
Matching Piercings to Your Ear Shape
Every ear has slight differences in cartilage thickness, curves, and available space. Because of this, not every piercing is suitable for every person.
An ear chart for piercings serves as a helpful reference during consultations. Rather than choosing placements based only on photographs online, you can compare the chart with your own ear and discuss suitable options with an experienced piercer.
Professional advice becomes especially valuable when planning industrial, rook, or snug piercings since these depend heavily on individual anatomy.
Learning the Differences Between Piercing Styles
There are dozens of piercing combinations available today, but understanding the basics makes future decisions much easier. An ear piercing types chart introduces the most common placements while showing how they relate to one another across the ear.
Instead of focusing only on appearance, it also encourages people to think about healing time, jewelry style, maintenance, and comfort. This approach helps reduce impulse decisions and leads to choices that remain enjoyable long after the piercing has healed.
If you are planning your first piercing or considering several new ones, taking time to study the available placements can make the experience much more rewarding.
For readers interested in seeing placement illustrations and learning more about each location, read more about the ear piercing chart at Antiquecut and explore how different piercings are positioned across the ear before choosing your next look.
Final Thoughts
Choosing an ear piercing is a personal decision that combines style, comfort, and anatomy. Taking time to understand the different placements, jewelry sizes, and healing expectations helps create a result that feels right for you. Whether you prefer a simple lobe piercing or a carefully planned collection of cartilage piercings, learning about each option before your appointment can make the experience far more enjoyable. A little preparation today often leads to a look you'll continue to appreciate for years to come.
Share the News