


Or do you want to wipe the disc on a computer that you sell or donate? Here are some tips and tricks to help you get the job done. Since HDD and SSD devices require different handling, I will process them separately.
HDD
There are three approaches you can take to securely erase hard drives.
Software
The cheapest solution to a bunch of hard drives is to wipe them off with software. I warn you, this is not fast and will not work on defective drives. My choice of disk eraser is Darik's Boot And Nuke (https://dban.org/). It's free and deletes discs perfectly.

To use it, you'll need to create a blank CD or DVD, then connect the drives you want to erase to your computer and run the software. Be careful not to accidentally wipe the disc containing the information you need, as it will make your life worse. I suggest using a backup computer or, if you can't, disconnect from the system you use all the data disks just in case. You can do this by booting from the Boot And Nuke, not the internal drive.
I recommend that you read and thoroughly review the documentation for this software because if you look away and erase the wrong drive, your data is gone.
Hardware
If you do not want to use a software approach, another way you can apply it is to use dedicated hardware tools for the job. At the moment, although these things are getting a little expensive, they are faster and mean that you do not have to dedicate your computer to a wipe operation.

The tool I use is WiebeTech's Drive eRazer Ultra. It's a fast, reliable, standalone solution for erasing discs by deleting everything. Attach the drive to it, press a few buttons, and Drive eRazer Ultra takes care of everything else.
I have used this tool to erase dozens of drives with great success. That solution is certainly expensive - the eRazer Ultra retails for at least $ 200 - but if you have a lot of erasers, that's good.
Manual method
OK, what do you do if you want to erase discs that have fallen or become defective in some way but still have data that cannot be erased now? You could run the risk that the data might be gone as the disk is dead, but you have to think that the disk might fall into the hands of someone smarter than you (or someone who has more time and patience).
Here is where the manual method comes into play. This method also works well if you just want to destroy the discs before you take them for recycling.
You will be required:
- Hammer (I use my faithful hammer 1 kg)
- Thick nail (nail 15 cm quite fit)
- thick gloves - mail you the nail to knock through the disk using a hammer, a hammer has always a magnetic attraction to the fingers
- wooden plank - to keep the disc from sticking to your floor (if you can, it is better to do it outside)
- Eye protection - initially you have a maximum of two, it would be foolish to take a risk!
Now apply brute force. Ideally, you want the nail to go through all the panels of the device. Go all the way (it's not really that difficult as it seems). Aim at a spot marked with the red letter X:
By targeting this spot, you not only smash the boards containing the data but also rip the read/write heads. If you're really paranoid, add nails through the green stars as well, and you'll get even more holes in the panels.
This is a very effective method of destroying a disk, and it's also fun, not to mention it's a great way to relieve stress!
SSD
With an SSD, things can get very complicated, so I could write a lot about TRIM commands, garbage collection, and so on. The problem is that things get twisted, and then mistakes happen, and then your baby's precious pictures or your work project are deleted. With that in mind, I will try to keep things simple.
Deleting manufacturer utilities
One way to delete SSDs is to use manufacturer utilities. Here are some links to get you started:
- Intel Solid-State Toolbox
- Corsair SSD Toolbox
- SanDisk SSD Toolbox
- Samsung Magician Software
- OCZ Toolbox
If you have a disc from another source, check out their website.
Encrypt the entire disk
One of the easiest ways is to encrypt the entire disk with a complex password. On Windows, you can use something like VeraCript, while on Mac you can use FileVault, and you're done. Who doesn't have a password, doesn't have information.
You can then format the disk, so it will be sterile and ready to accept reloading.
PARTED Magic
Another way to do this is to use a software tool called PARTED Magic. Instead of telling you how to use it, here's a video showing it in action:
Although PARTED Magic is not free (priced at a reasonable $ 9), it is a very effective tool and one of the best which I used to delete SSDs.
Manual method
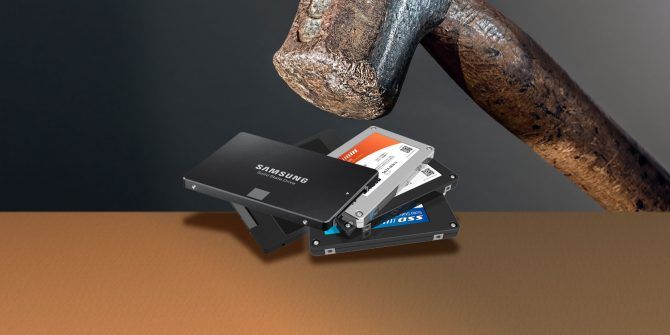
If the drive is dead, or you just want to get rid of it quickly and don't want the functioning disk to drop, then you can point the hammer to an SSD or flash drive. One thing to keep in mind is that the data in the SSD is stored on small memory chips, not on large boards, so to clear the data, it is necessary to break those chips. Usually, this means removing the disc cover before you start swinging.
If you are not sure what flash chips are, just in case, stick a nail through each large chip.
Share the News